Setting an Internet Access Schedule for Clients
Create a schedule profile to have the Multy Site to automatically block the Internet access of clients in a profile for preset periods of time.
1 Tap the Parental Control icon ( ) of the Multy Site.
) of the Multy Site.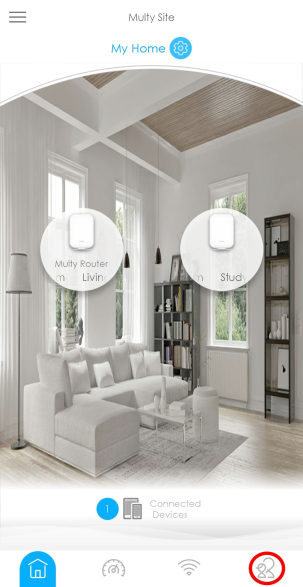
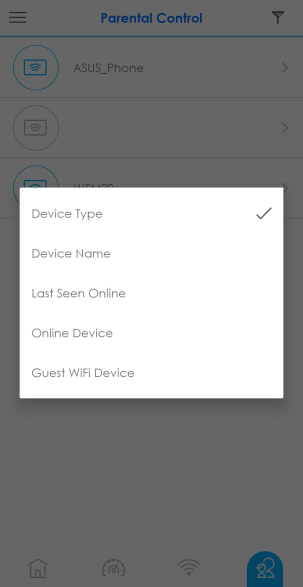
2 Tap the Filter icon and select how you want to sort the devices in the list.
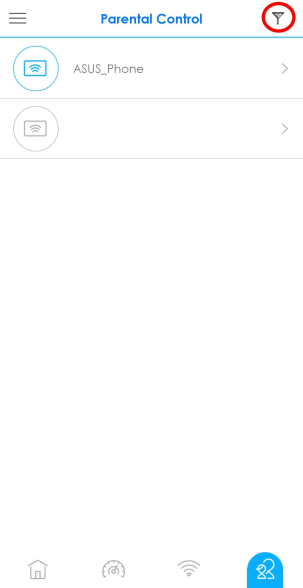
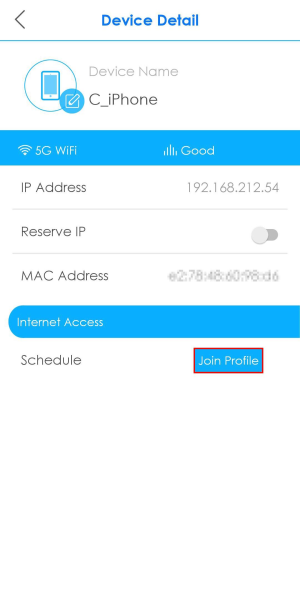
3 Tap to select a client from the device list to view the client device information. Tap Join Profile and then select Create New Profile to create a new profile or select a profile you previously created to apply a profile to the client.

4 If you want to create a new schedule, tap Create New Profile as shown in the previous step.
The following steps differ by the Multy Device models you use.
For Multy M6E (WSQ65), see step 6-9.
For other models, see step 5.
The following steps differ by the Multy Device models you use.
For Multy M6E (WSQ65), see step 6-9.
For other models, see step 5.
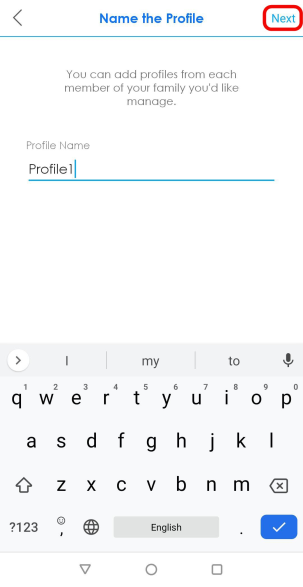
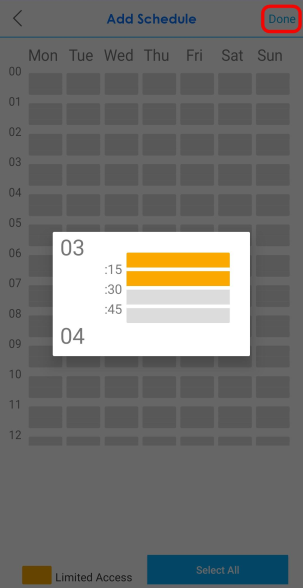
5 After you create a profile, name the profile. Use up to 20 printable characters except [ “ ], [ ‘ ], [ ` ], [ < ], [ > ], [ ^ ], [ $ ] and [ & ]. Spaces are allowed. Tap Next to continue. Tap the gray blocks to specify the time periods during which the client will be blocked from accessing the Internet. If you want to plan a schedule in 15-minute intervals, tap a time slot and hold for 2 or 3 seconds until a small window pops up. To select an entire row or column, tap the row or column label. Tap Done to save your settings.
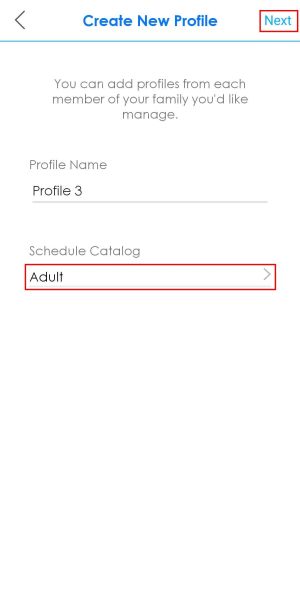
6 Enter a Profile Name. Use up to 20 printable characters except [ “ ], [ ‘ ], [ ` ], [ < ], [ > ], [ ^ ], [ $ ] and [ & ]. Spaces are allowed. You can select the Schedule Catalog (Adult, Teen, or Kid) to use a Multy pre-configured schedule. Select Customized to configure a new schedule. Tap Next.
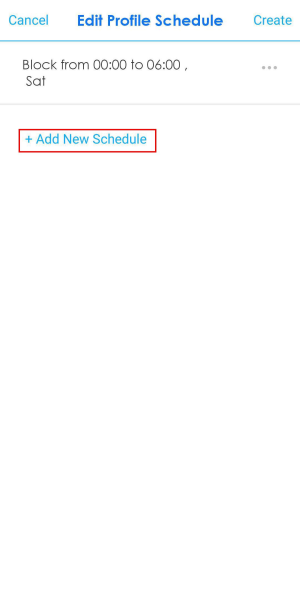
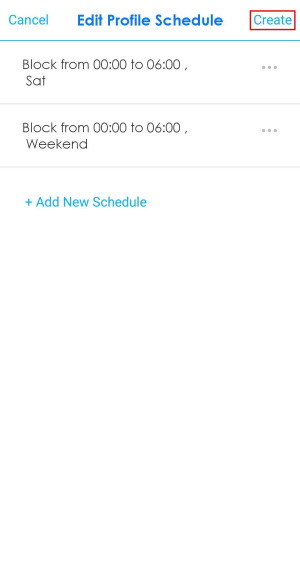
7 Tap Add New Schedule to create a new schedule.
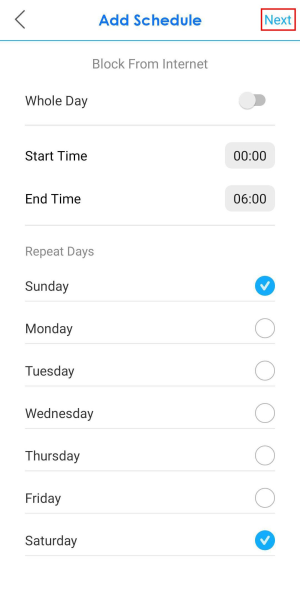
8 Select the Start Time and End Time for blocking Internet access. Enable Whole Day if you want to set the Internet blocking time to be a whole day (00:00-23:59). Then, select the Repeat Days on which you want this schedule to repeat. Tap Next.
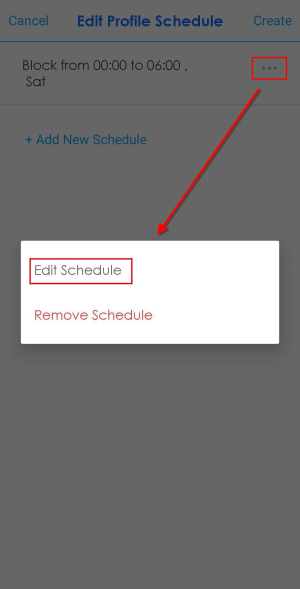
9 Tap Create.
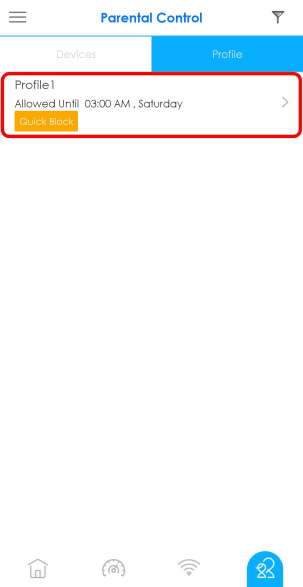
10 The profile name will then display on the Parental Control > Devices screen.
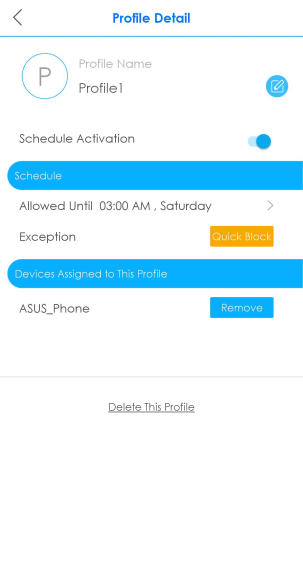
11 The Parental Control > Profile > Profile Detail screen becomes available after a schedule profile is created.